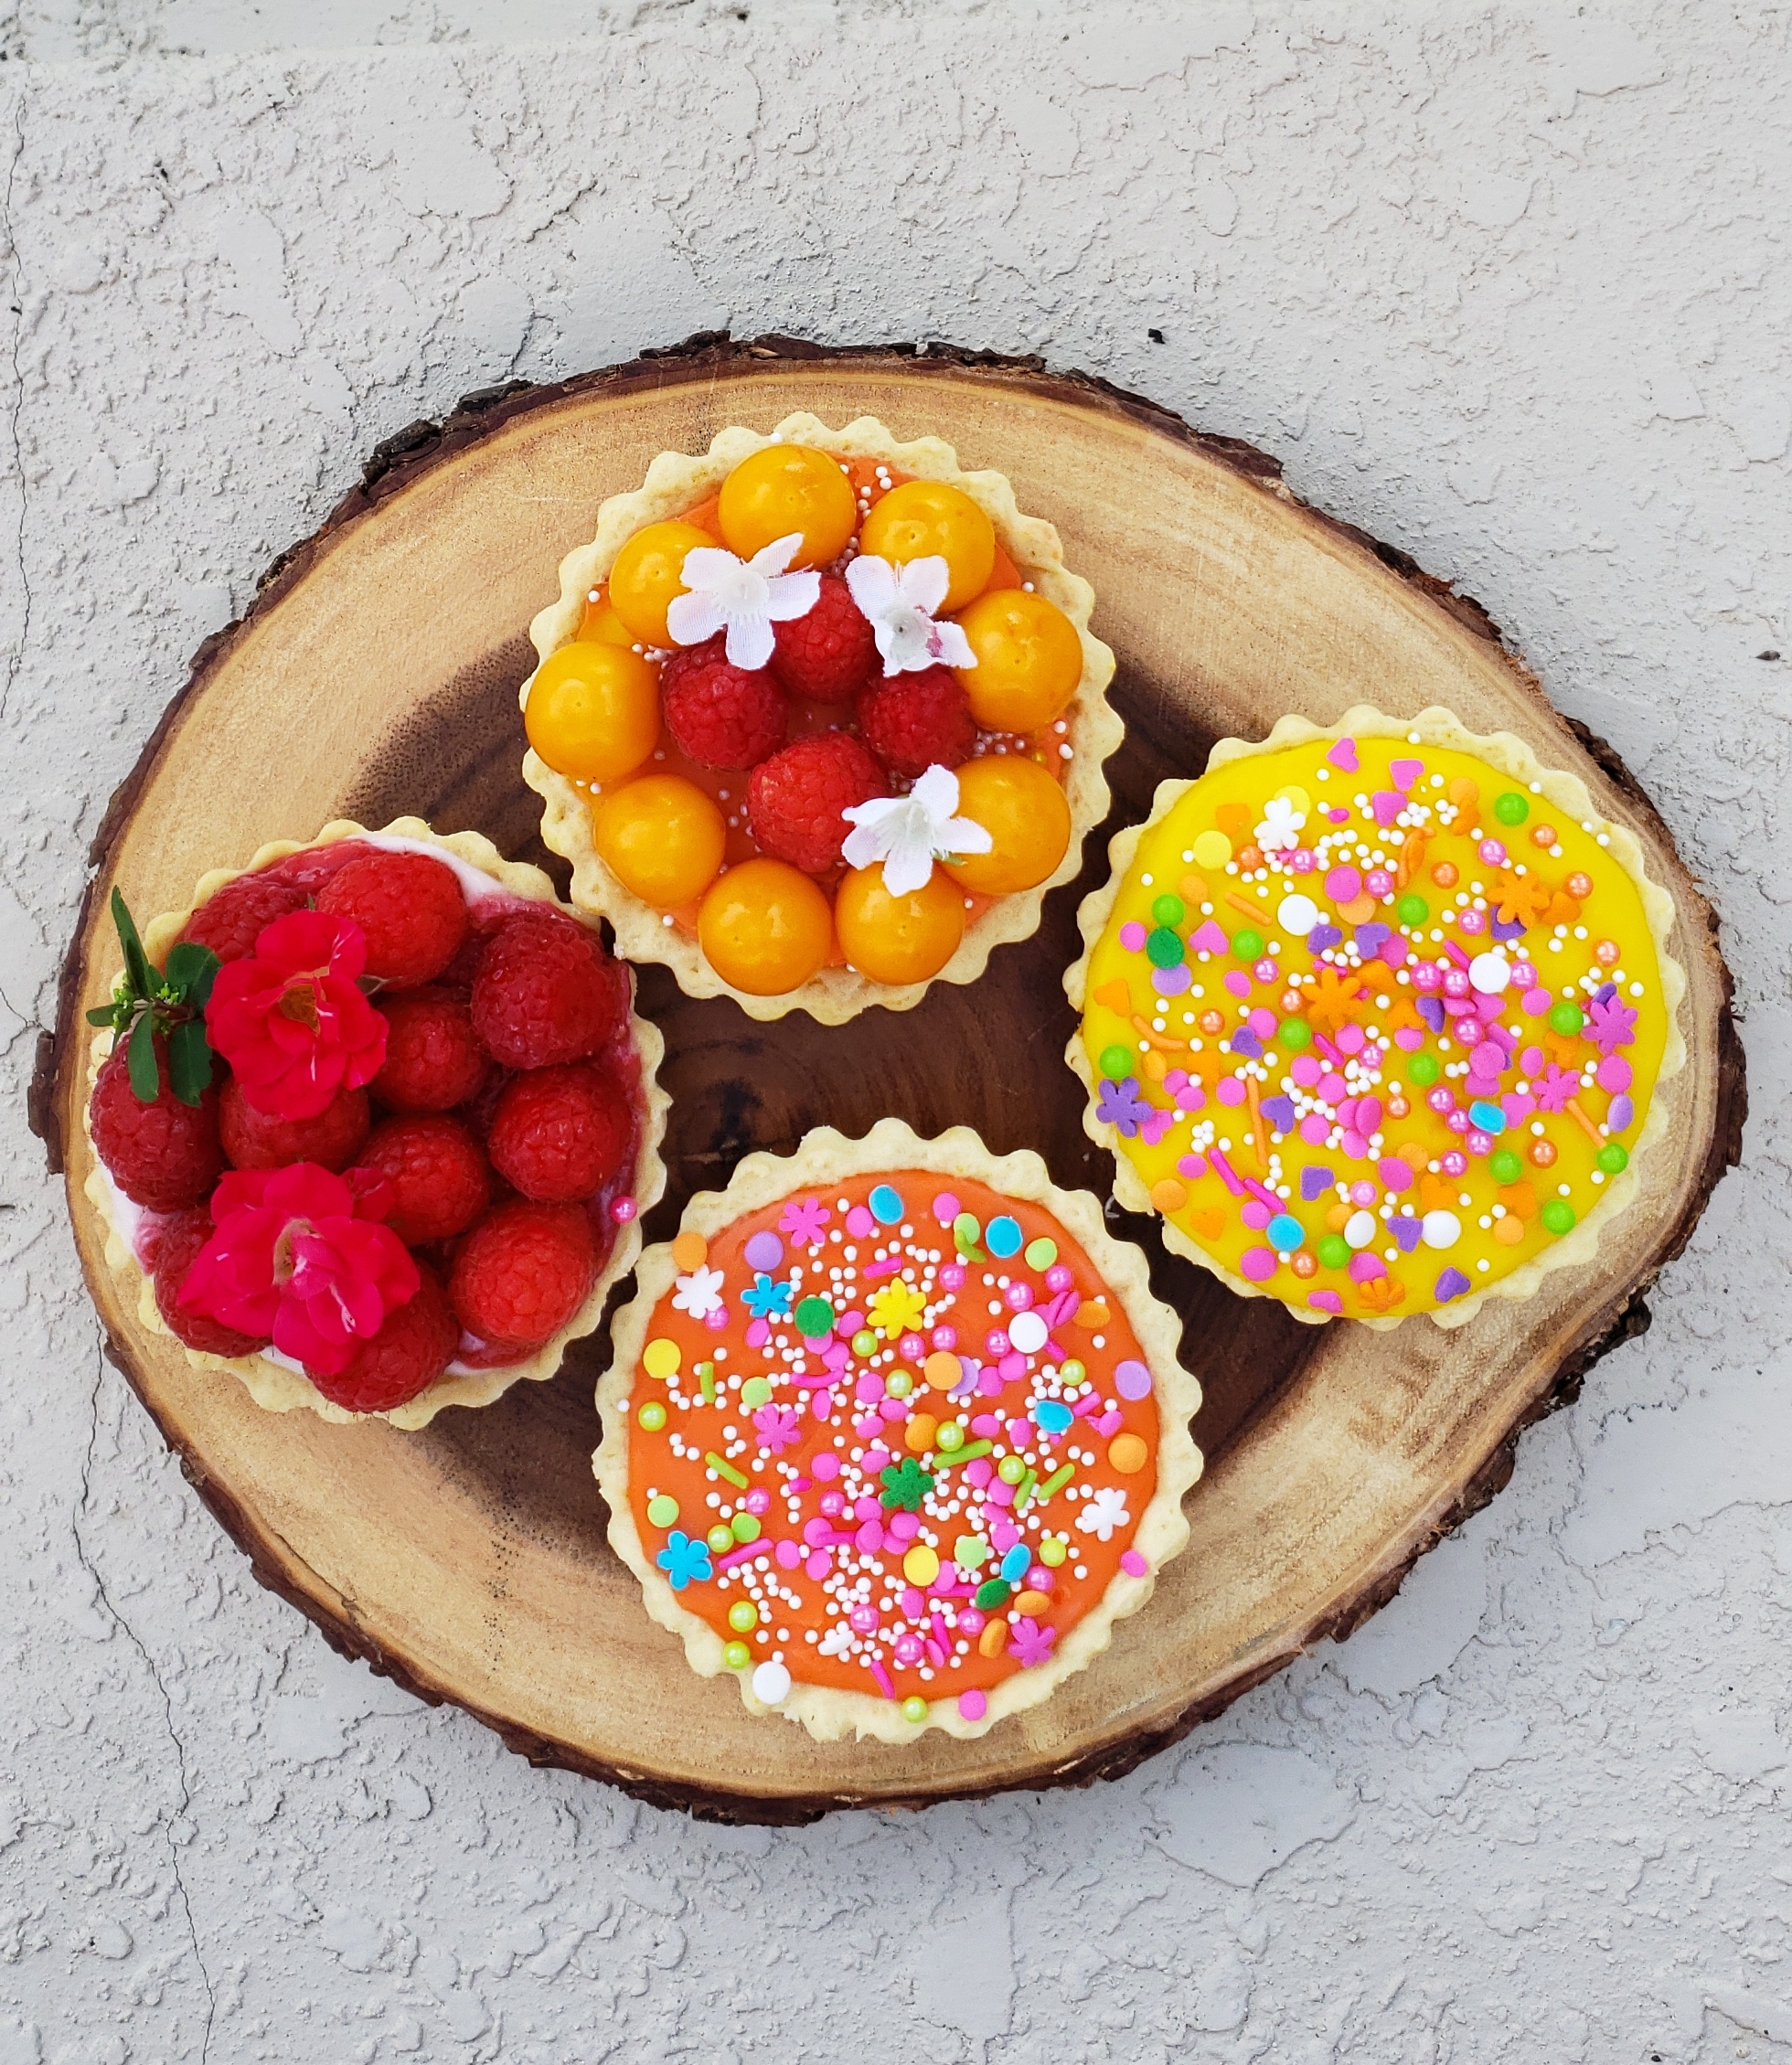
I can’t wait to incorporate these gorgeous fruit tarts into my future sweet tables! 😀 They already look great, but I promise they taste even better!
Now I know what you’re thinking: there are tons of tart recipes online, so what makes this one different from all the others? Well, I honestly think you’ll love this one more because it has a special surprise inside! 😀
But first, a warning: I’ve noticed that people tend to over-bake this dessert. They leave the tarts in the oven for 15–20 minutes or until the crust turns golden—to which I say, “What??? Why would you ruin perfectly good tarts like that?”
A brown crust means a tart will come out crispy instead of light and tender like it should be. Want to do it right? Bake the tart for no more than 8–10 minutes. Trust me, it’ll come out much tastier! 🙂

Honestly, I can’t decide if I like the tarts with fruit or with sprinkles better. They’re both delicious, and each is special in its own way. Of course, they both have fruit: the former has fruit on top, and the latter has a fruit filling hidden beneath a colored chocolate ganache.


I’m more of a pastry person than a cake person, so I could eat these sweets all day, every day. 🙂 It’s a wonder I haven’t gained 200 pounds by now! Maybe it’s because my baby just started walking, so I’m running after her all day long. Moms, you know how it is. 🙂
Okay, okay, enough about me. On to the recipe!
○ INGREDIENTS ○
Crust:
- 1 1/4 cups all-purpose flour
- 1/2 tablespoon lemon crust
- 1/4 cup sugar
- 1 tablespoon vanilla
- 80g (6 Tbsp) butter
- 1 tablespoon ground almonds • 1 egg
Filling 1:
- 200g yogurt
- 250g mascarpone
- 1/2 cup powdered sugar
- 3 tablespoons lemon juice and a little bit of crust • 1 bag powdered jello
Filling 2 (for the tarts with sprinkles):
- 300g raspberries
- 1 tablespoon vanilla
- 2 tablespoons cornstarch
- 1 cup raspberry juice (or any other juice of your choice) • 1/2 cup sugar
○ PROCEDURE ○
Crust:
- In a food processor, blend the flour and butter.
- Add the sugar, ground almonds, lemon crust, and vanilla. Mix well.
- Add the egg to form the dough.
- Flatten the mixture into a disc, then wrap it in plastic and put it in the fridge for at least one hour.
- Roll the dough until it’s one inch thick. Press it into your tart pan, making sure to press the edges nicely.
- Poke holes into the top of the tart with a fork. This will ensure the hot air can escape while baking so the dough won’t rise.
- Bake at 360°F for 7–10 minutes. Don’t let the crust turn brown!
- After 7 minutes, lift the tart a little with a fork. When the bottom is a light brownish color, remove it from the oven.
- Let the tart sit in the pan for a few minutes, then move it to a cooling rack to finish cooling.
Filling 1:
- Soak the jello in 4 tablespoons of cold water and let it swell for a couple of minutes. Combine all the ingredients in a medium bowl.
- Dissolve the jello on low heat, then pour it into the cream mixture. Mix well with a stand mixer.
Filling 2:
- Mix the raspberries and sugar in a small pan. Cook for about 4 minutes, stirring occasionally. In a measuring cup, combine the juice, cornstarch, and vanilla. Pour this mixture into the fruit mixture.
- Cook the filling for about 3 minutes or until it thickens, mixing continuously. Remove the pan from the stove and let the filling sit to cool completely.
* If you’re making the tarts with fruit, pour the cream mixture on top of the cold tart, then arrange the fresh fruit on top.
** If you’re making the tarts with sprinkles, pour Filling 2 (raspberry or strawberry) on top of the cold tart, followed by Filling 1 and colored chocolate ganache. Decorate with sprinkles immediately.
Colored Chocolate Ganache:
- 1/2 cup heavy whipping cream
- 1 1/2 cups white chocolate chips
- Heat the whipping cream to boiling point.
- Remove the cream from heat and add the white chocolate chips.
- Let it sit for about 5 minutes, then mix until all the chocolate is melted. Add the desired color.

