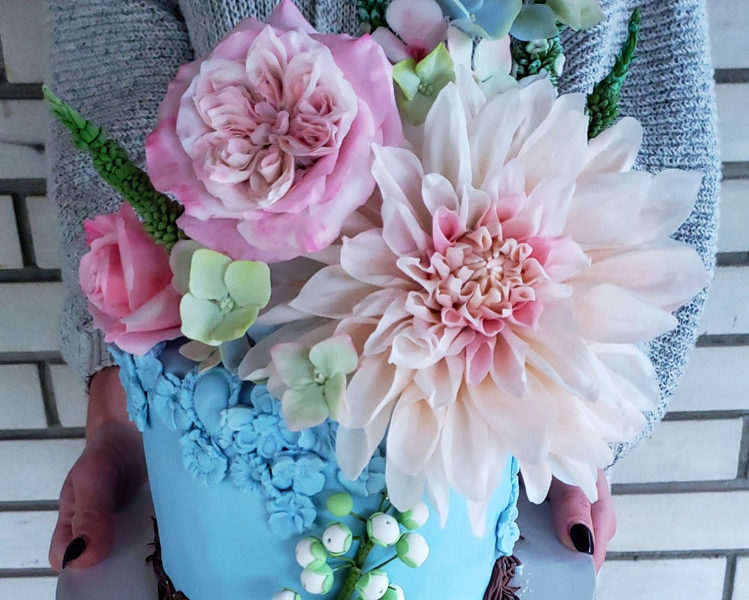
Gumpaste Flowers became my passion over the past few weeks. I’ve used my stay in Europe to learn as much as I can while also having a great time along the way. 🙂 Now I want to pass my knowledge on to you!
Here’s how my educational journey began…
While browsing the internet, I stumbled upon the website of a small cake decorating school. I really liked their concept of individual classes and complete commitment to one student at a time, which worked best for me because I have a one-and-a-half-year-old and another baby on the way. 🙂
The school covers various topics related to cake decorating: fondant, gum paste, royal icing, pretty much anything you can think of. I later learned this school is so popular that people come from all over the world for their top-notch classes!
My First Gumpaste Flower Classes
I scheduled my first class and met my first teacher. She was soo pleasant and welcoming, I felt like I had known her for years! After chatting for a bit, we got to work, and that’s when I saw how professional and “strict” she was. 🙂
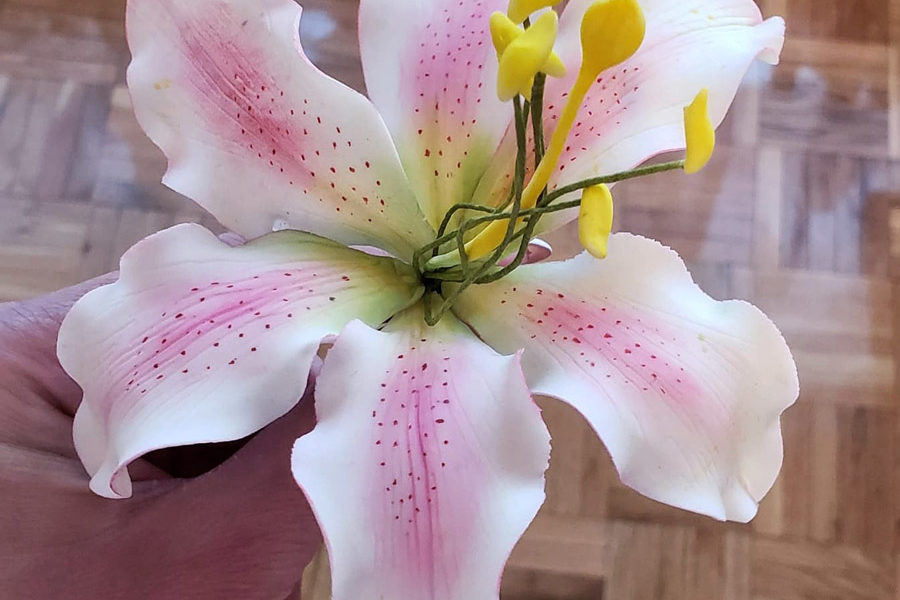
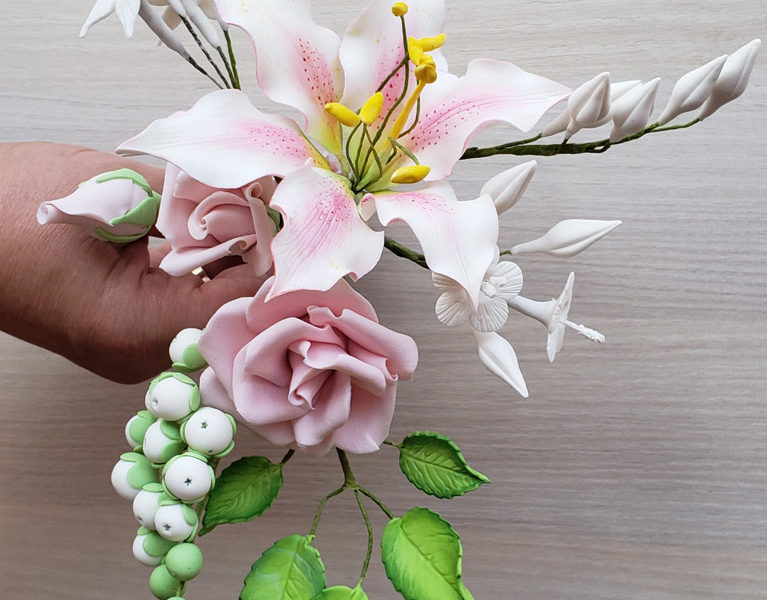
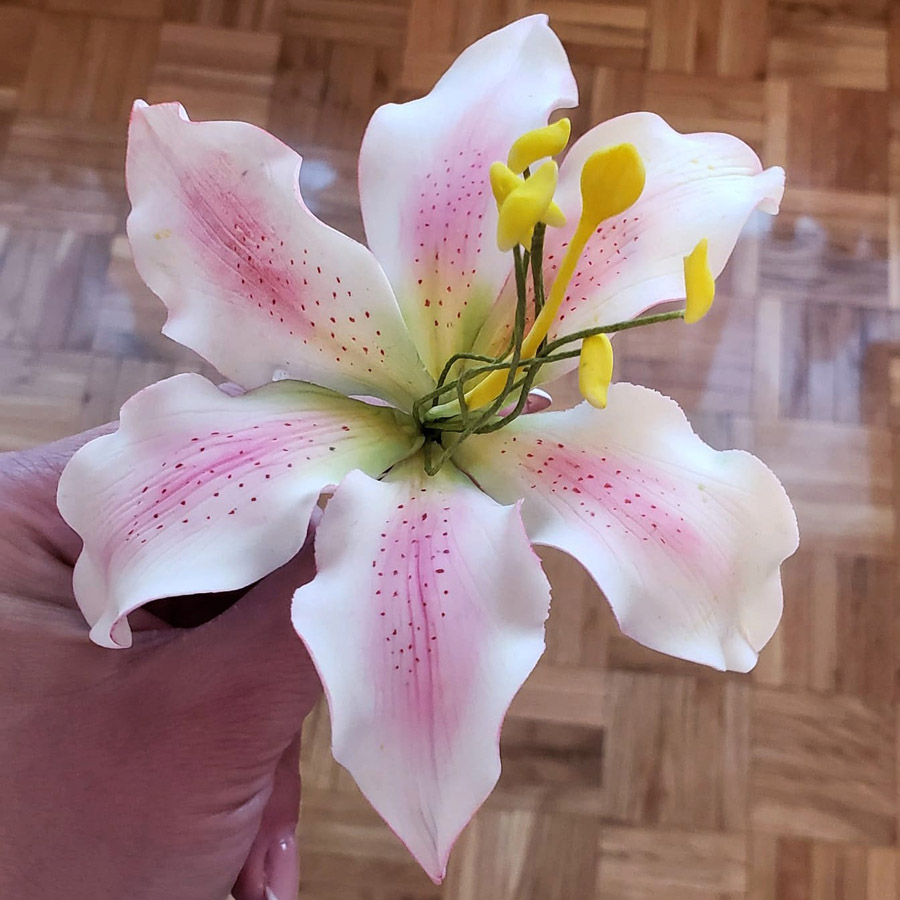
My first lesson was how to make a Gumpaste flower – LILY. I wanted to learn this flower first because it’s soo beautiful that the first time I saw it, I thought it was real!
My teacher explained the procedure step by step, and I was amazed at how easy it was! After making the lily itself, the next step was painting it. As my teacher told me, many people tend to mess up this step, often by using too much paint dust. Don’t worry, my classes will cover this too, but I’ll expect you to take this part seriously!
My first gum paste lily was the same kind as the one I fell in love with. 🙂
Not bad for my first try! 😉
* The second flower I learned how to make was a
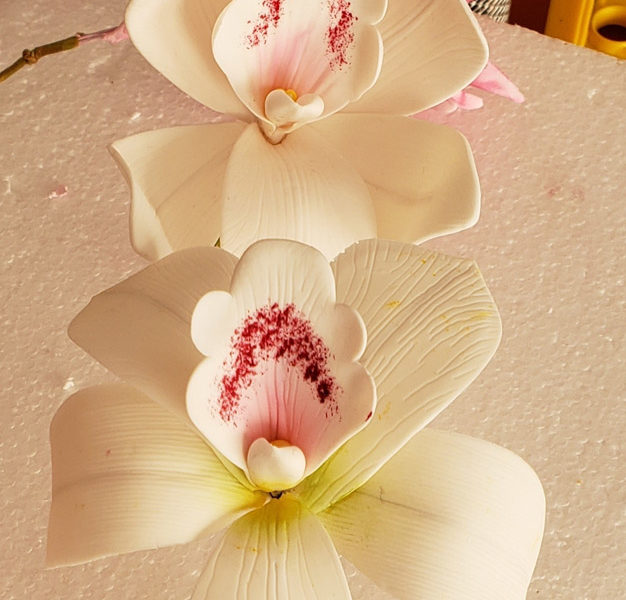
CUMBIDIUM ORCHID
One of the most beautiful Gumpaste flowers that’s easy to make!
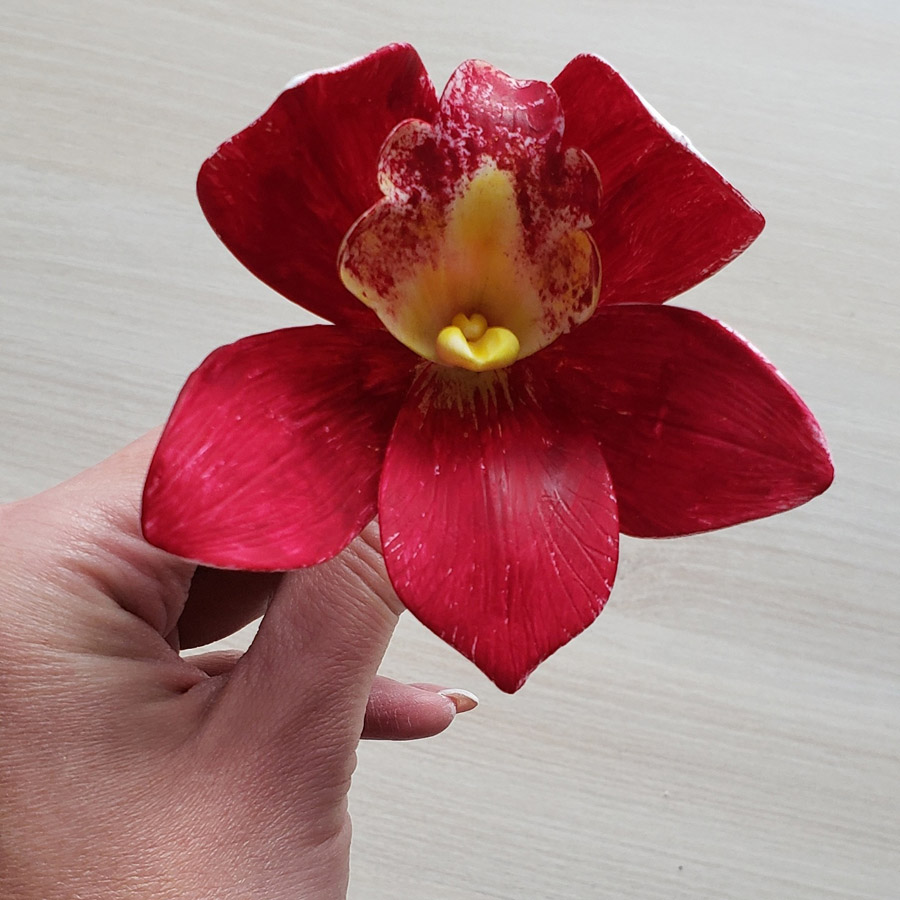
Paint it or leave it white, it will be beautiful either way. 😉 This flower, in white, is a great option for a
more elegant cake!
In this school, they use cutters for every flower, but that wasn’t the case for the masterclasses I took later. (I will talk about these classes too.)
Anyway, back to my favorite school! 🙂
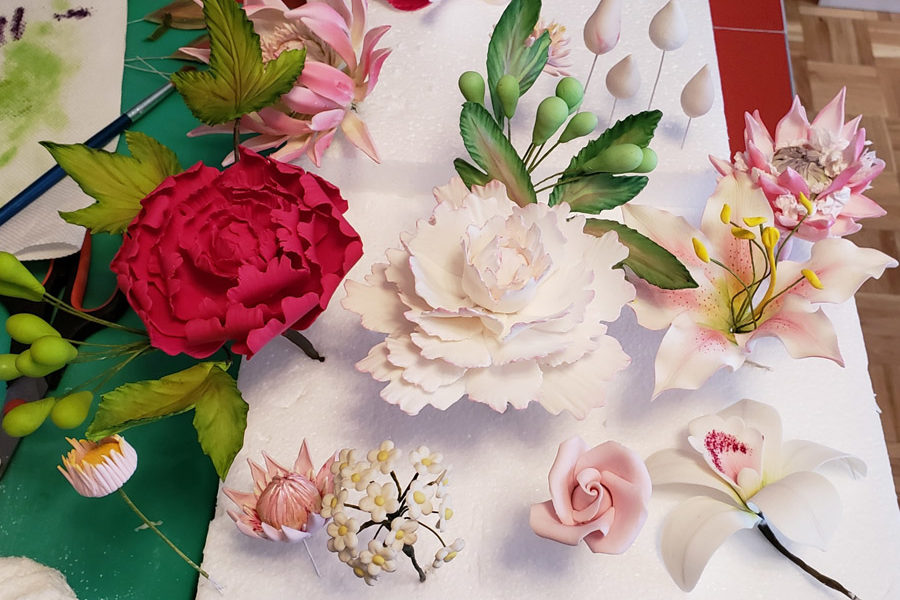
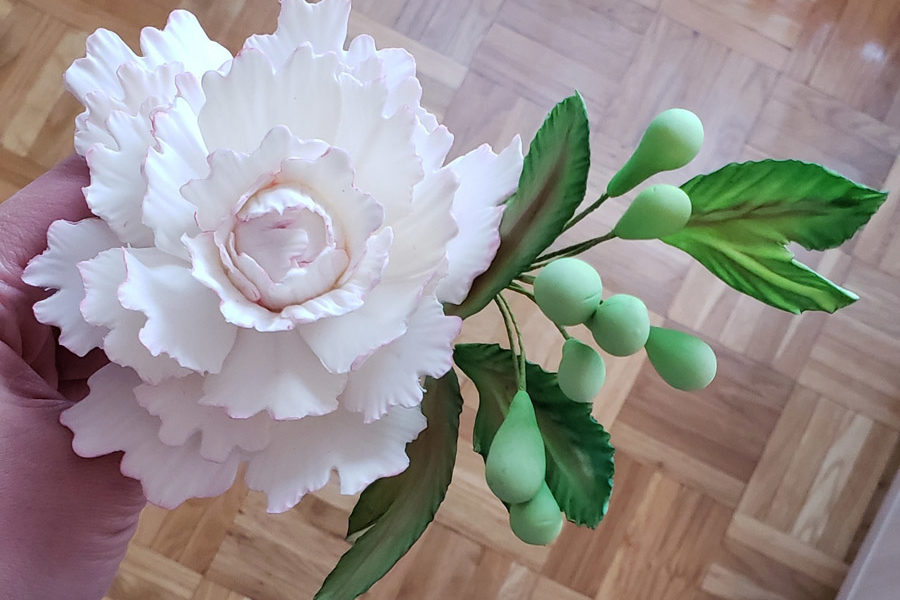
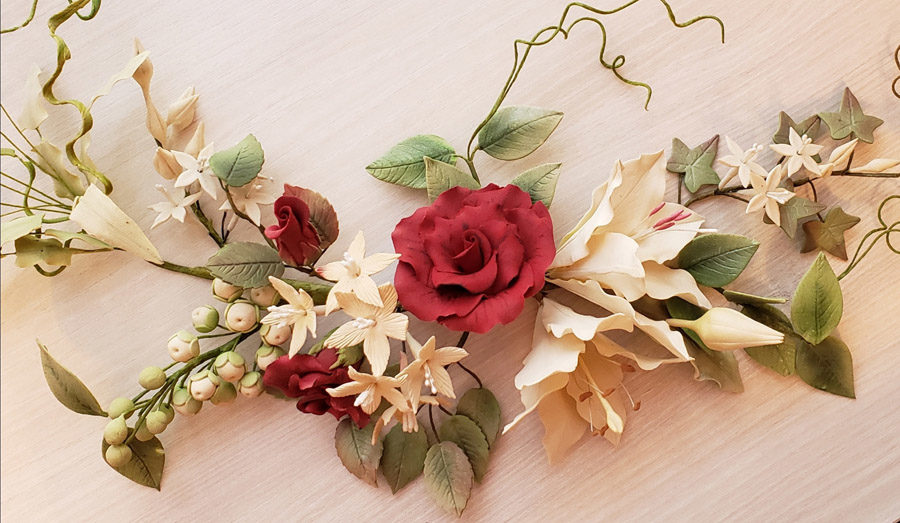
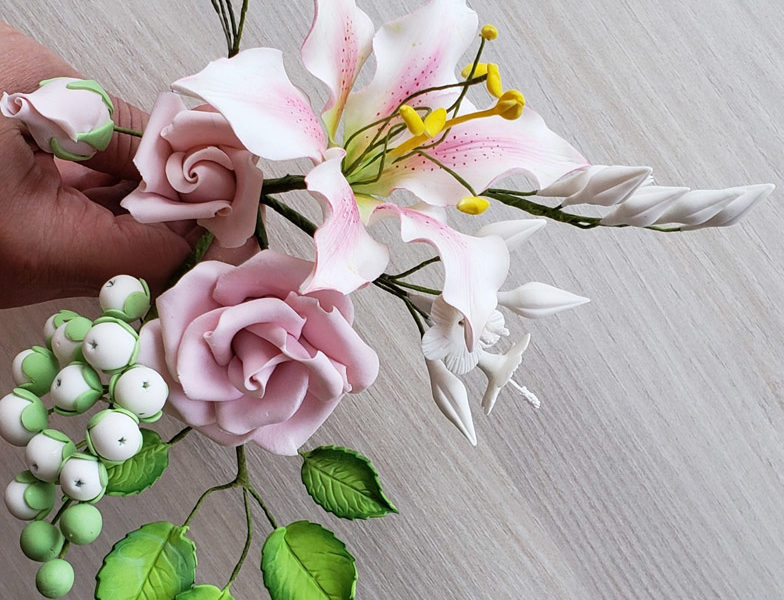
As I sad, I’ve learned so much here: how to make Small Flowers, Assemble Bouquets, Make Leaves, Fill Gaps, etc. Basically, I’ve learned all the little details you couldn’t find in a million online tutorials. Words can only say so much, though, so I’m sharing some pictures of my work! I apologize in advance for the quality: they were taken for my personal use, but I
really want to share them with you now so you can see what I’ve been working on. 🙂
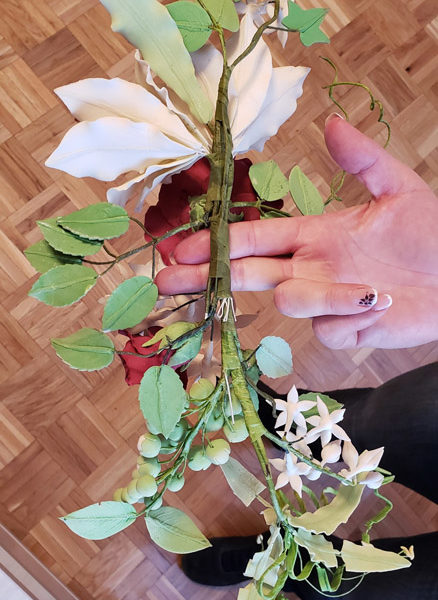
(My teacher’s work)
(My work)
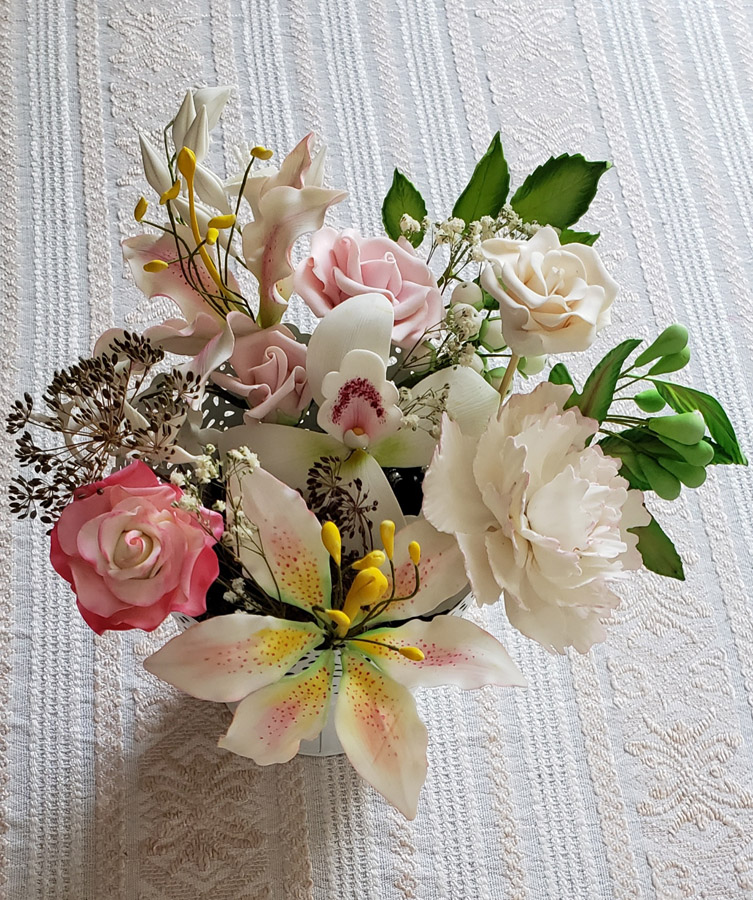
I’ve also learned how to perfectly cover a cake with fondant, work with royal icing, color and shade all types of flowers and leaves. All in all, I’d say these classes have been a great investment of my time and money!
Advanced Gumpaste Flowers Making
After I finished my classes, I thought I had all the knowledge I needed to advance my career. Then one day, my sister sent me a link to an Instagram post and told me to check it out. At first, I thought I was looking at real flowers, until I noticed the words “sugar art” in the bio. I was actualy looking at edible Gumpaste flowers.
When I saw the Instagrammer was holding a masterclass in the same country I was in at the time, I didn’t hesitate to apply. The class was expensive, but it was the best money I ever spent in my life! I even took another masterclass after that! 🙂
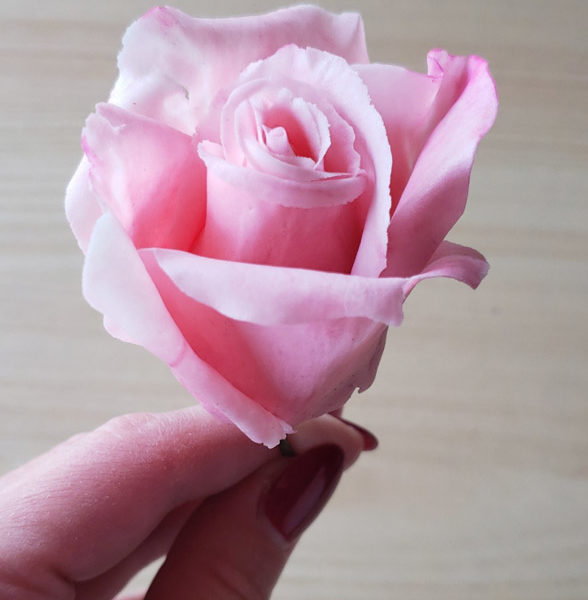
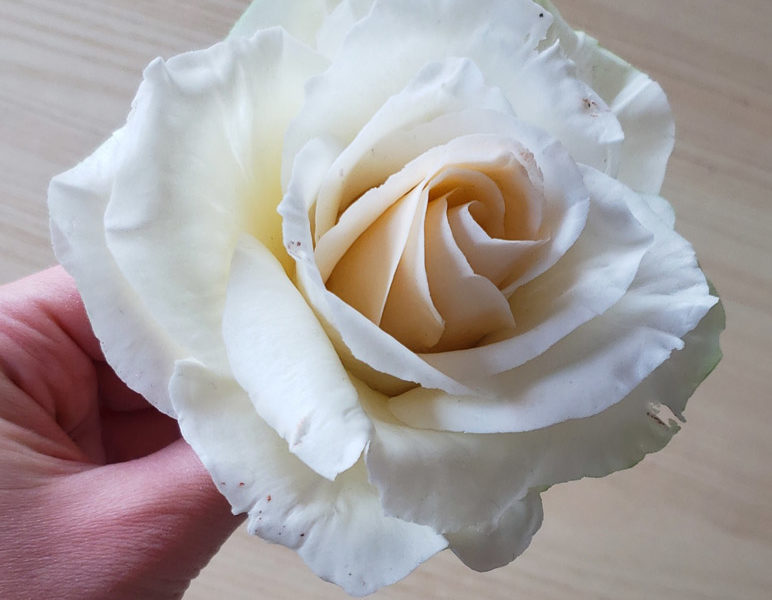
The first class covered how to make a ROSE and lasted for six hours.
I admit I was staggered when my teacher told me that the class would take six hours. Why would a class that covers only one flower be that long? But I soon learned that there are a million ways to make a rose, so if anything, the time was just right!
We didn’t use any cutters and rarely used a ball tool. Instead, we only used a rose veiner, which our teacher made herself. Unfortunately, they’re not available here, so for now I’ll have to test a few alternatives and choose the best one.
The second thing we used the most was this:
https://www.amazon.com/dp/B07DW9JM9Y/ref=cm _sw_r_wa_api_i_A5rqCbMWYVPJ9
…and a rolling pin.
We shaped all the petals on this sheet by hand, then we put them in veiners for that natural look.
Next came the gluing part. Instead of edible glues, we used egg whites to hold the flower together.
And last but not least was shading and adding small details to bring the rose to life! 🙂
I’ve perfected this flower, so my first masterclass will be on making a rose! 🙂
As I mentioned before, I was so satisfied with this class that I needed to take another one!
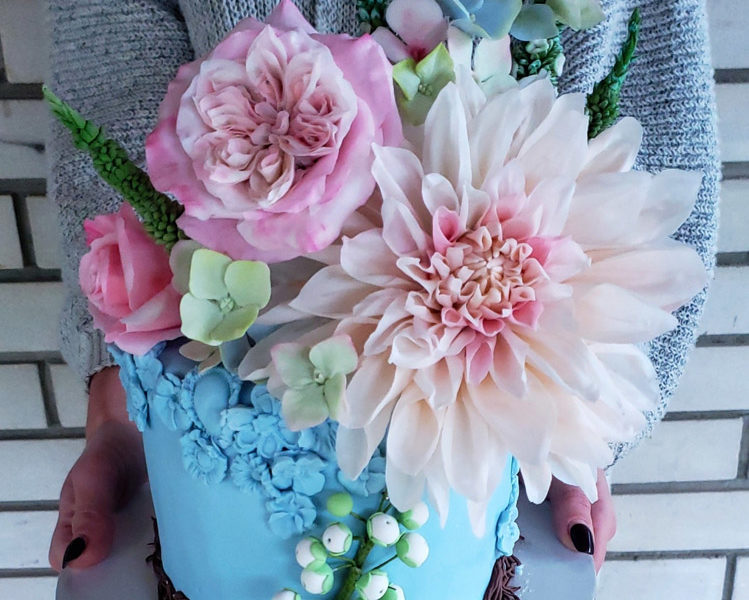
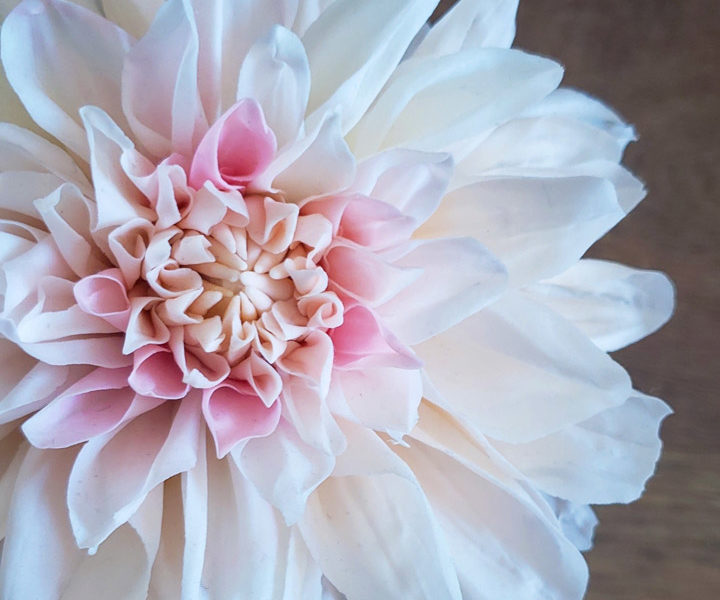
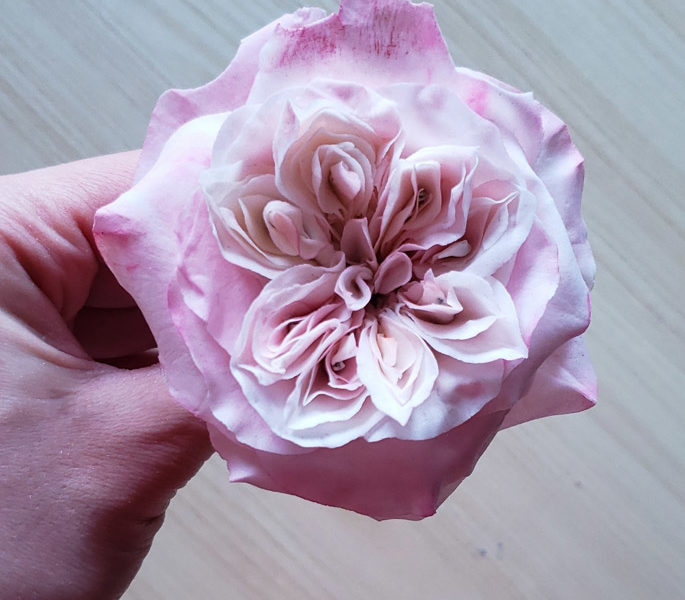
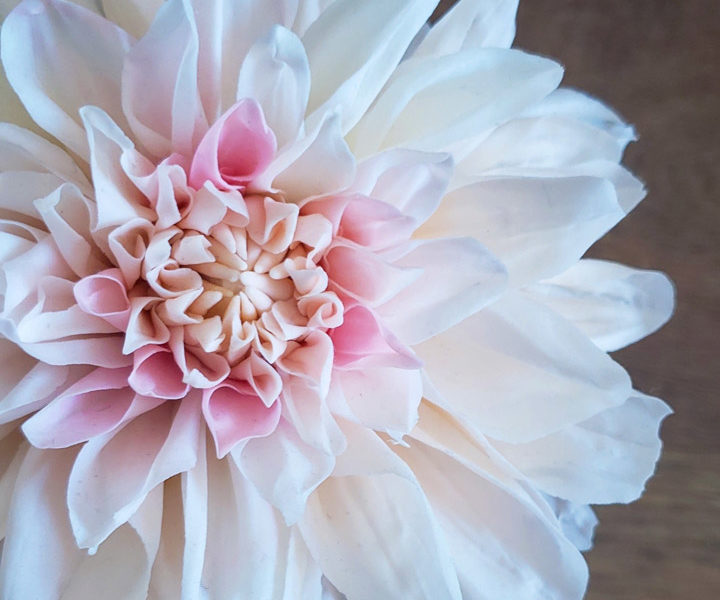
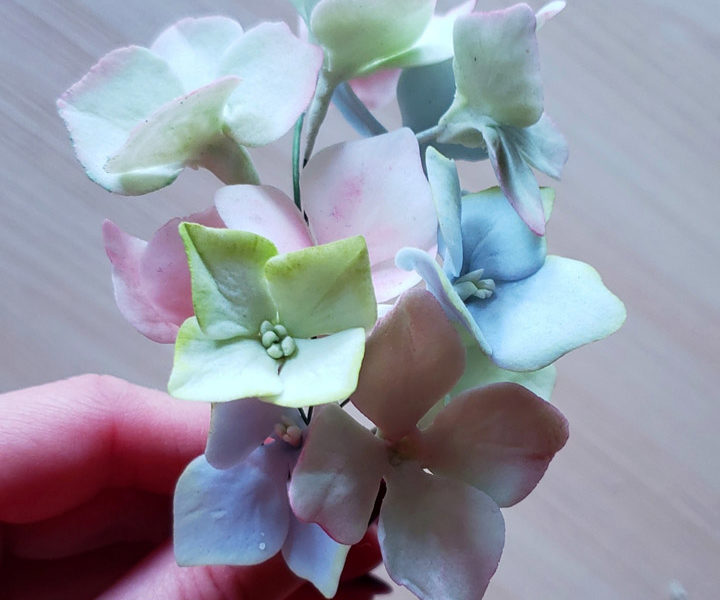
* The second class covered Dahlias, Hydrangeas, English roses, and Veronica flowers.
This masterclass lasted two days because all the petals of a Dahlia need to dry completely before you assemble the flower, so you need to leave them drying overnight.
One good tip I’ve received is to use a day when you’re not too busy to make a lot of petals in advance and store them in a box. That way, when you need to make dahlias in a hurry, you can just take out the petals you’ve already made and assemble them right away! 😉 We didn’t use any cutters for this flower either, just a couple of tools from the modeling kit and wires to attach each petal.
We used different shades of pink gum paste to avoid having to shade and paint the flower later!
* The English rose has a story of its own! 🙂 You literally have to construct this flower. 🙂 It’s not as hard as it seems; once I show you the procedure, it’ll actually
be pretty easy! I’m not going to share any secrets about this flower here, so you’ll have to take one of my classes to learn them for yourself! 😀
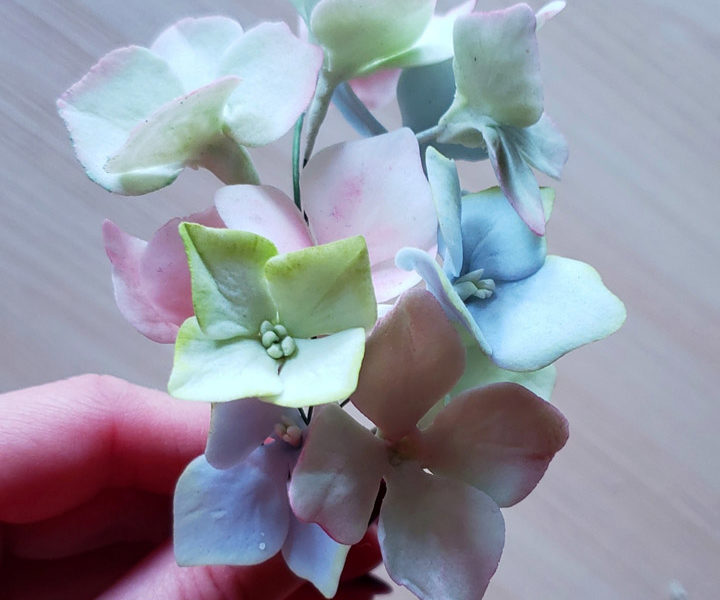
* The hydrangea and veronica are fun little flowers! Veronicas are super easy and fun to make, but I admit I struggled with hydrangeas a lot in the beginning. They’re very delicate, so my long nails kept getting in the way. Because of that, I got nervous and my palms started sweating, which made the situation even worse! 🙂
Since I couldn’t keep up with the rest of the group, I figured out my own way to make hydrangeas. :))) I used my hands as little as possible, instead doing almost everything with tools.
In my opinion, it’s a good thing I had a hard time with this flower, because now I have a Plan B to teach my students who run into the same problem! 😀
I practiced a lot after these classes, and now I’m confident that I’m ready to start teaching how to make Gumpaste flowers myself! I’ll provide all the tools, but I recommend you come with some experience in making gum paste flowers already. You won’t need any more training after finishing these courses: this will be the top tier in your learning journey, plus you’ll get to keep the gorgeous flowers you make yourself! Hope to see you in my class soon! 😉
